Framing Above The Fireplace
Before I start patching drywall I need to frame above the fireplace, run the electric for the flat screen, and install the cement board for the new stone. The first thing to do is install 2×4 runners for the 2×4 studs that I will install @ 16″ on center.
Before I install the runners I need to measure the width of the fireplace. Then I take that measurement and subtract for the thickness of the cement board.
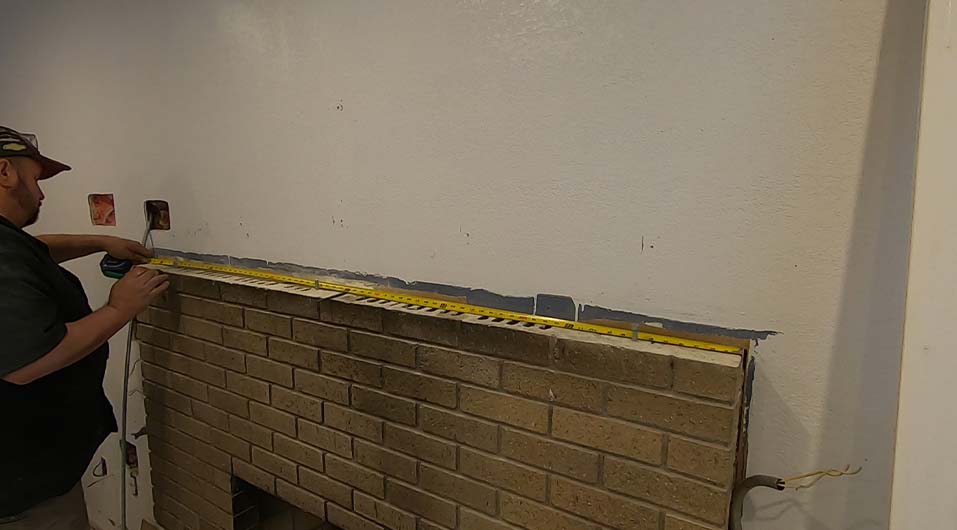
Then I mark and locate the studs, then use a screw and check to make sure I have the studs marked correctly. I run the screw into the wall on my lines. If it spins freely then I missed the stud. If the screw is difficult to run in then I hit the stud.
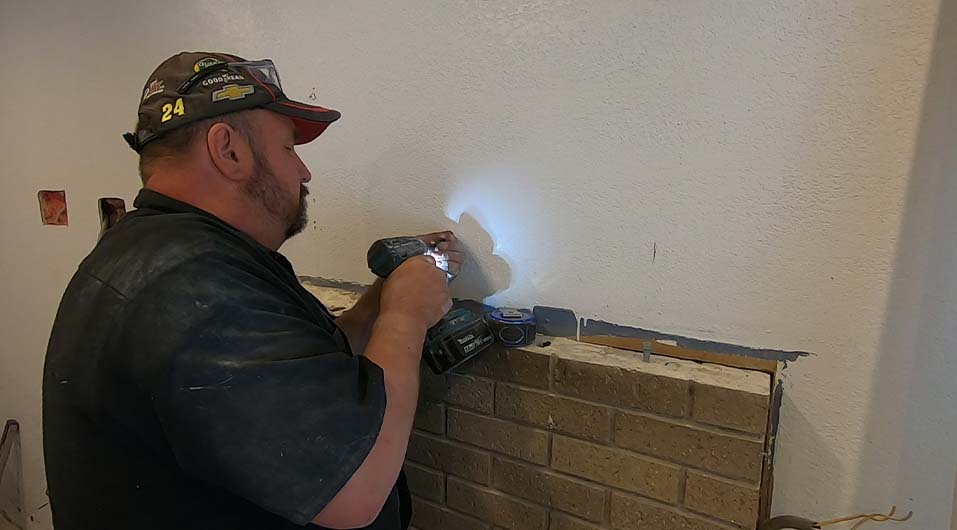
Using a line laser, I line the 2×4’s back far enough to allow for the thickness of the cement board then attach them to the wall. When I install the cement board, I want it flush with the existing brick.
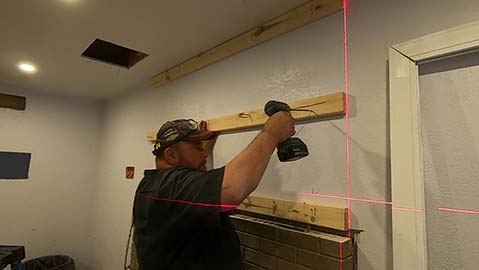
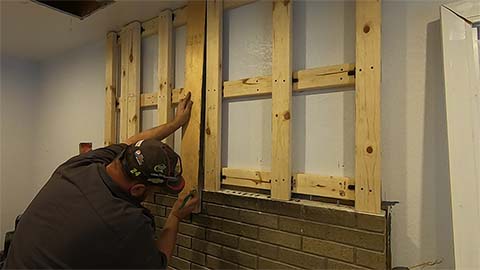
The next step is to layout my layout 16″ centers and attach the vertical studs.
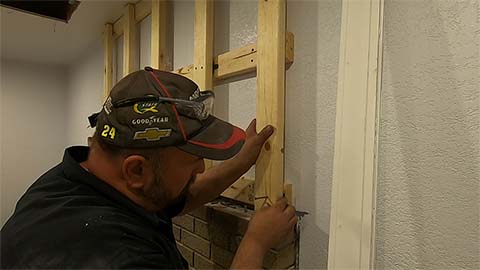
The dimensions of two 2×4’s laying flat wasn’t quite the thickness I needed so my cement board would be flush with the existing brick. So I use plastic horse shoe shims to shim the studs out. You can see in the second photo below I’m shimming out so the cement board is flush with the brick.
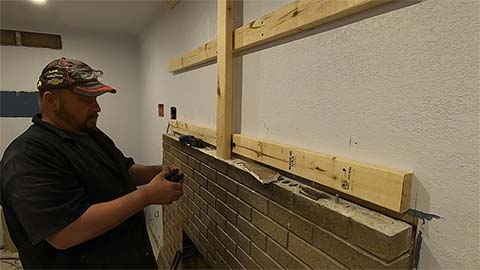
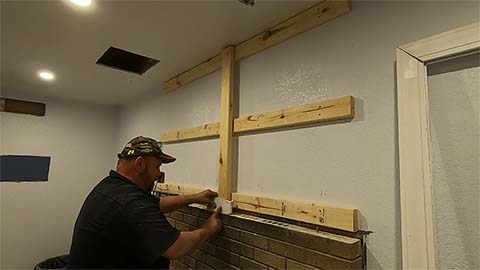
One last thing to do with the framing before I move on, is to add a 2×6 stud in the center of the fireplace for my TV bracket backing.
Running The Electric For the TV
I have one more thing to run electric for and that’s the TV.
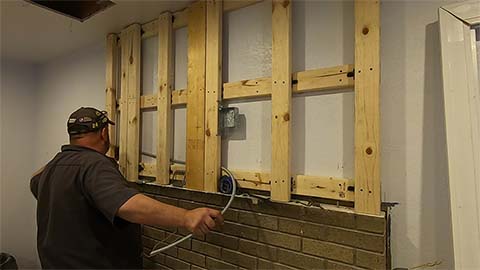
There is an outlet just to the left of the fire place close to the floor, where I can pick up the power from. If you look at the picture below, you will see that I mounted a plaster ring without an electrical box on the stud right next to the outlet where I am getting the electric for the television. You don’t need an electrical box for low voltage wires. This is where I am going to run the HDMI cables through the wall to the TV and I will be able to install those cables after the room is finished. You are probably wondering how I can do that after the walls are closed up and painted. If you look at the picture below, you can see a black pipe screwed to the wall.
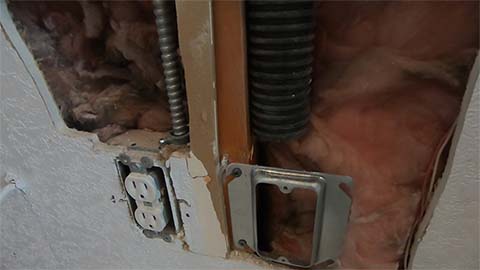
Normally I would use PVC pipe behind the walls to hide my cables for the TV. Typically, when using PVC It’s a straight up and down path from where the outlet located close to the floor is, up to the television. In my case it is not. The location for my installation is to the left. Running PVC from the location I need to get it too would have been difficult. So I decided to use an 1-1/2″ shop vac hose. It was long enough to get it where I needed to but most importantly it was flexible and much easier to install and I didn’t need to glue anything together. If you look at the next sequence of pictures you will see how I ran the vacuum hose. When I need to run the cables to the television, I will need to use a fish tape, which is not a problem. I would have had to do that with PVC anyway.
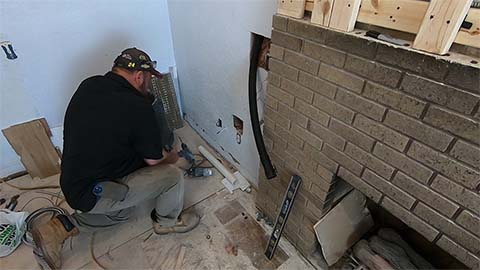
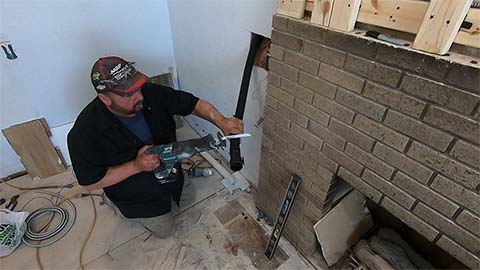
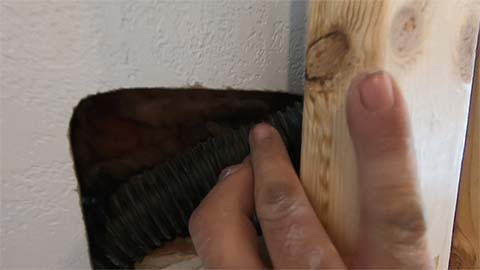
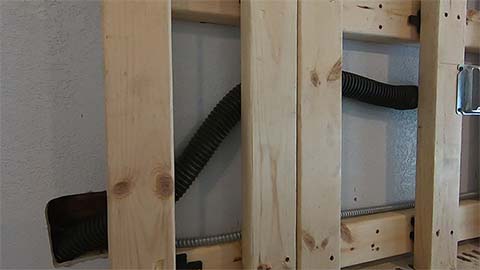
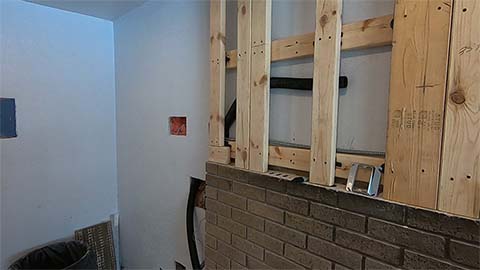
I didn’t have strapping to hold the hose in place. I did have a roll of Velcro, so I used that instead. I screwed the Velcro to the wall then wrapped it around the hose. You can also see in the picture, I installed another plaster ring where the hose ends. You will see why I installed the plaster rings when I am closer to finishing the project.
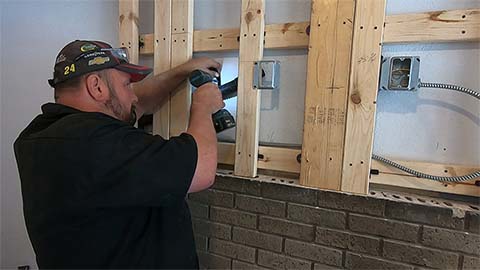
I am finally done with all the rough electric and framing. Now I can install the cement board and patch the drywall. Make sure you come back to see how I do that!


