What's Next?
Now that I have the recessed lights located where I want them, it’s time to cut holes in the drywall so I can get power to the new lights. I will be using a combination of conduit, flex, and Romex. Most of the electrical boxes in my house are cut in boxes and are just large enough for one outlet and basically one connection. I will be changing out some of those boxes with 1900 boxes and installing new plaster rings, in addition to new three way switches and dimmer switches. I’m also going to install a box for a ceiling fan and remove two existing 6″ recessed lights.
Cutting The Drywall
In the remodeling process, there will be many openings to cut into the drywall. Because I know the drywaller and the taper (me), I will make sure to give myself plenty of room to work when I make the cutouts in the drywall. As you can see in the photos below I am using a 6″ hole saw to cut holes in between the ceiling joists. This is so I can get a drill into the pocket between the joists and drill holes into them to get electric from the switch to the recessed lights. I will save the cut 6″ cut outs and reinstall them later to patch the holes. Actually I will be saving all the drywall I cut out, because they are the size of the cut out they came from, so I will be using them for patching.
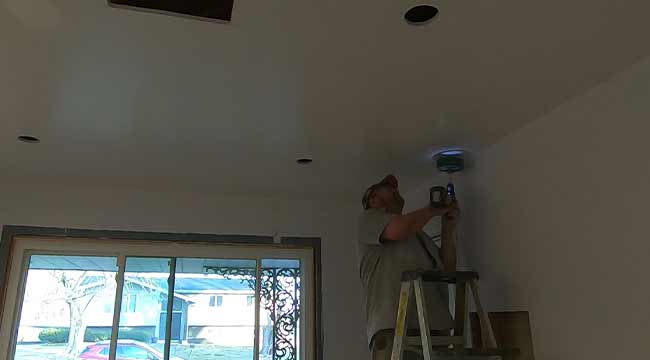
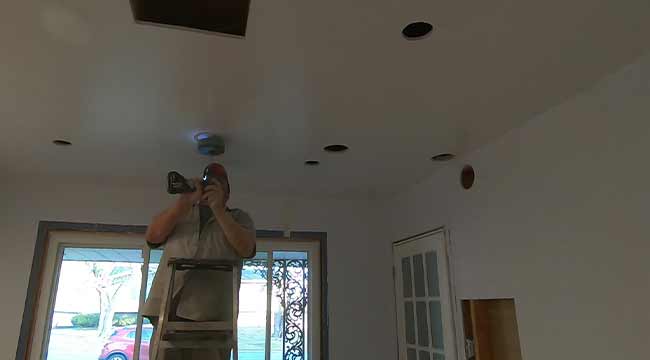
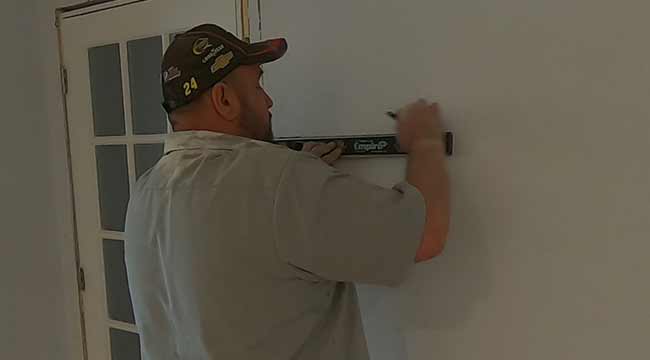
I’m using a level to draw lines as a guide for me to follow with a drywall router. I could use a reciprocating saw, also known as a saws all, to cut the drywall, however the saw is very aggressive and I don’t want to cut anything that may be hidden behind the drywall. So I will use the router which you can see in the bottom photo.

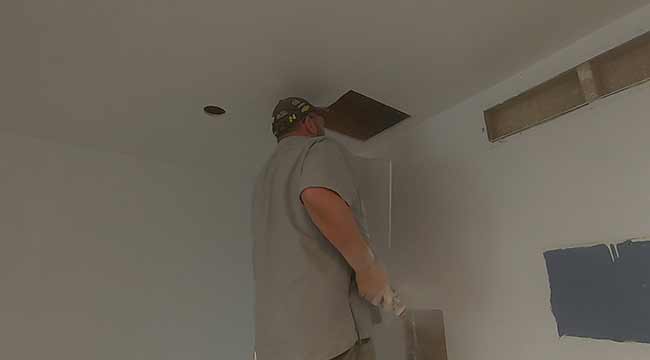
In the center of the room, I’m going to cut out the drywall for a ceiling fan, and cut out drywall anywhere I’m going to change boxes and outlets.


Changing Out Boxes
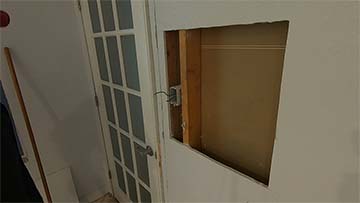
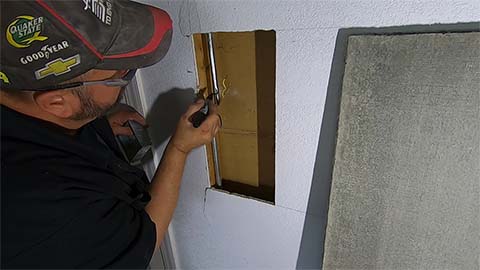
I had to cut the drywall around the switch boxes so I can change them to larger boxes. This will give me room to add more switches. I will remove the box shown in the pic below and mount a box in the space next to it. The space the box is currently in is to small for the new 1900 box.
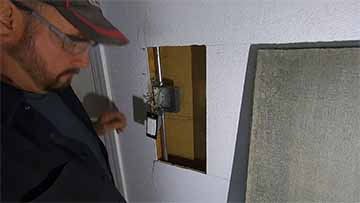
This is what it looks like with the new box. You can also see the new location. This is the entrance to the room from the front of the house. I changed this box because I might want to add a switch for the ceiling fan. I also need a 3-way switch for the recessed lights.

The switch box at the other end of the room, which is at the entrance off the kitchen, also needs to be changed out. I have a dimmer switch in the existing box and it is a tight fit. I need to add another switch for the ceiling fan here as well. One thing I forgot to mention, I turn the power off to the room from the circuit panel so I can work on the electric for the room, especially when changing boxes.

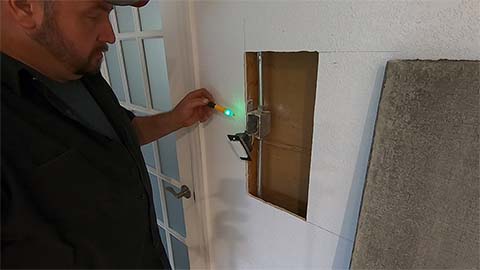
I have a voltage tester that I use to make sure the power is off. Even though I know the power is off because the lights are out, I still check. You can see the tester below and the light is green, so I can proceed!
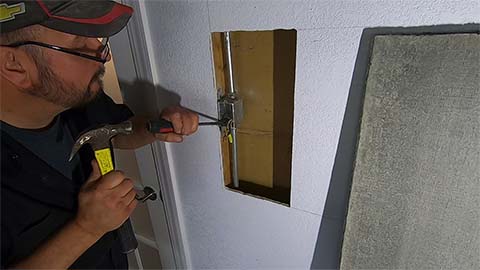
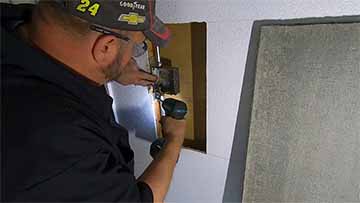
This box was very difficult to remove, so I had to cut it out with a grinder and a cut off blade.
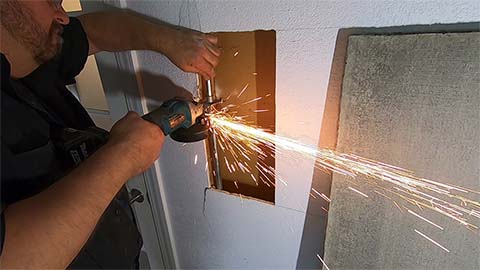
If you do anything like this with a grinder, make sure the sparks don’t start a fire. Also, if there is a window, wall tile or floor tile in the path of the sparks, make sure they are protected. The sparks will instantly make pits in glass and tile.
Once I cut the old box out, I had to cut the conduit so the new box would fit. Then I installed new couplings and mounted the box
Installing The Box For The Ceiling Fan
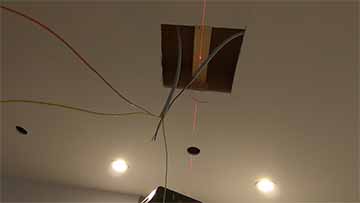
I marked the center of the room and cut out the drywall so I can install a box for the ceiling fan. The electrical box for the ceiling fan has to be installed differently than a box for a switch or outlet. The box for the fan has to withstand the weight of the ceiling fan and the spinning fan as well. Even though the fan can be balanced if it has a wobble to it, it can still have enough of a wobble to loosen the box in the ceiling if it is not mounted correctly.
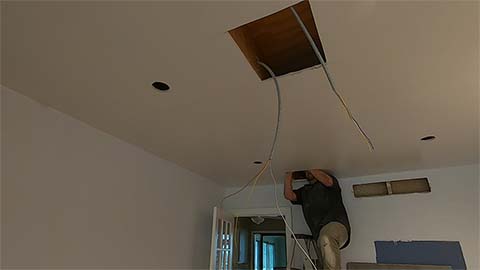
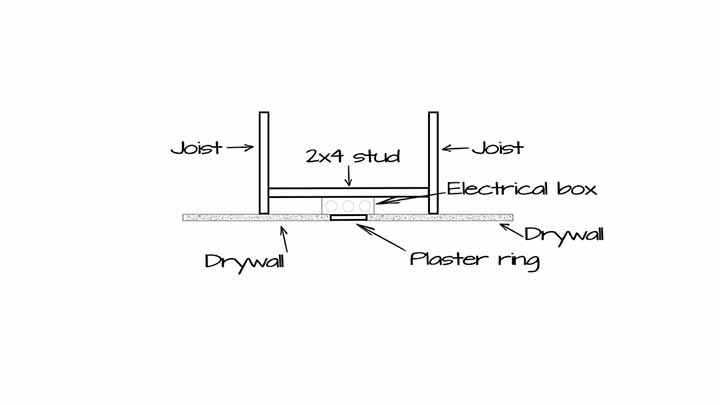
When I mount an electrical box for a ceiling fan, I prefer to mount it to a 2×4 stud. I measure the space between the joists and cut the 2×4 to fit in between them. Then I measure the electrical box and install the stud recessed into the pocket so the box doesn’t sit below the drywall. I used the dot laser to transfer the center of the ceiling fan that I located on the floor.
I made a sketch so you can see what I’m talking about. The electrical box needs to be level with the bottom of the joist. Then a plaster ring will be installed after I finish pulling wire to the box.
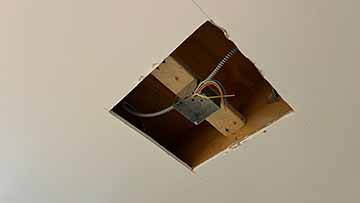
Here’s what the box looks like installed. The plaster ring is not installed yet. I won’t install that until the wiring is complete.
I’m going to break this post into two parts. Make sure to read part two! Creating a Home Gym, Rough Electric Pt. 2


