Installing DuraRock
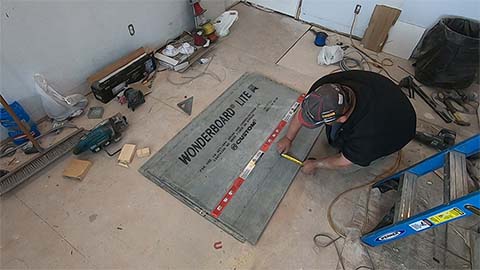
Now that I have the fireplace framed, it’s time to start adding the Durarock. Since I plan to use real stone for the fireplace, regular drywall won’t cut it. I’ll be using a special product called Durarock instead. It’s a cement-based board that’s specifically designed for installing stone. The sheets I’m working with are 3×5 feet in size and 7/16 of an inch thick. Because of the cement, the sheets are quite heavy, which is why they’re smaller. My first step is to install a full sheet, but before I can do that, I need to measure and mark where the outlets will go.
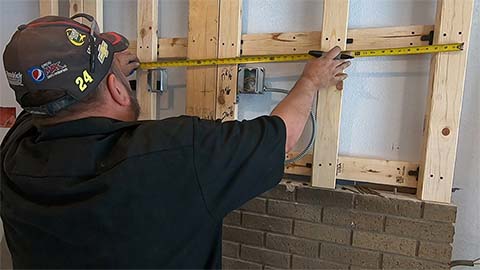
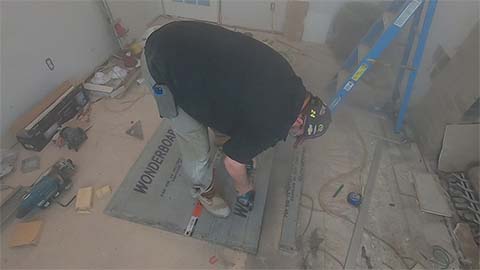
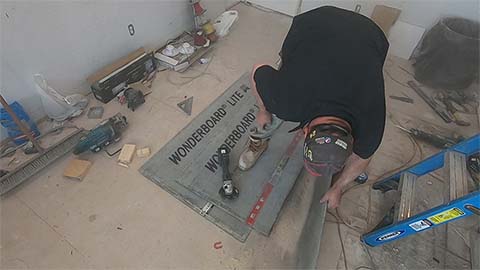
The next step in the process is to transfer my measurements onto the board and cut them out. To do this, I’ll be using a mini grinder with a diamond blade. While it’s possible to use a utility knife to score and cut the sheets, it’s much easier and more efficient to use a grinder when working with cement board. So, that’s what I’ll be using to cut out the holes.
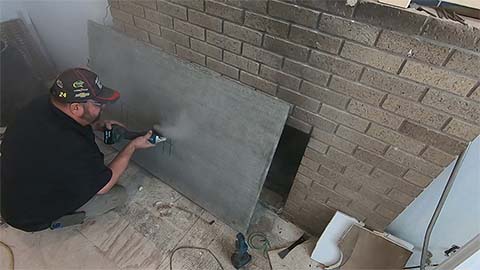
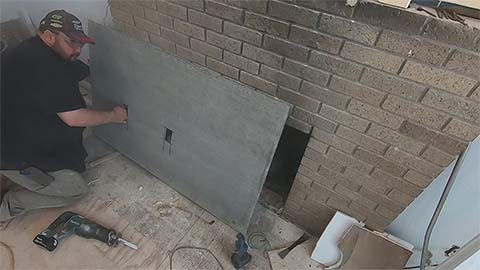
Once I’m done cutting out the cement board, the next step is to check whether it fits properly. If it does, I can proceed to install it. To attach the board, I’m using screws that are specially designed for cement board. These screws feature a sharp point and ridges under the head, which help to countersink the screw into the cement board.
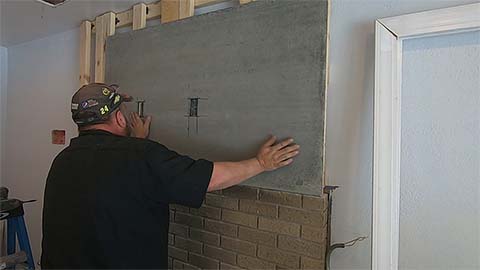
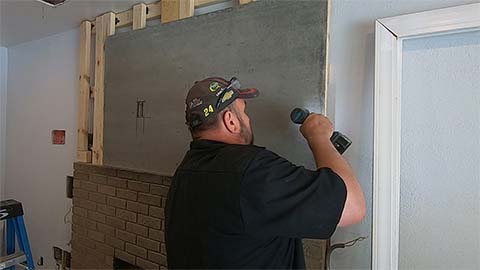
After installing the first piece, I’ll move on to measuring and cutting the remaining pieces. This involves cutting small strips for the sides and larger strips to finish the face of the fireplace. Just like before, I’ll be using the mini grinder to cut these pieces out. However, it’s important to wear a mask while cutting cement board to avoid inhaling any harmful dust. So, make sure to take the necessary safety precautions before getting started.
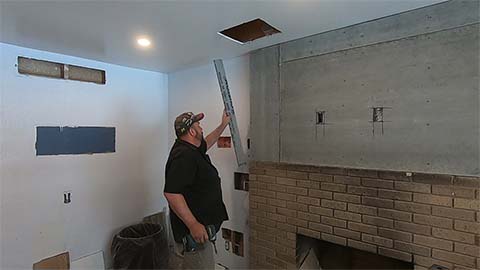
With the cement board installed, I’m now ready to move on to the next phase of the project: installing the stone. As you may have noticed, I didn’t cover the entire fireplace with cement board. This is because the is solid and provides an excellent substrate for the stone. To ensure that the cement board is flush with the brick, I kept the framing slightly set back from the face of the fireplace. This way, the stone will sit evenly and securely against the surface, creating a polished and professional look.
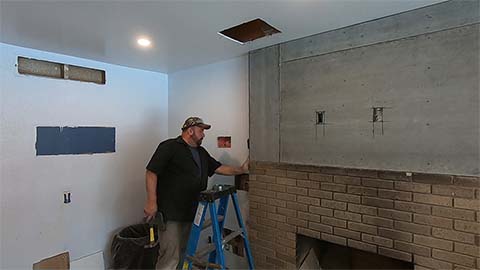
Before moving on to the next phase of the project, I’ll need to patch up the holes I made in the drywall for the electrical upgrades. It’s an important step to ensure that the finished product looks clean and seamless. So, stay tuned for my next post where I’ll share more about this process and provide updates on the project. Be sure to check back often so you don’t miss a thing!


