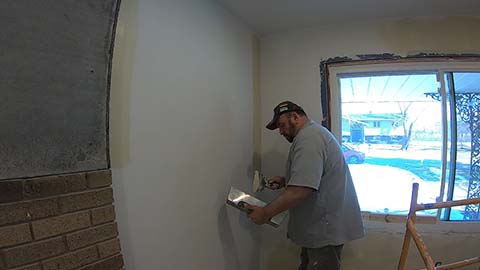
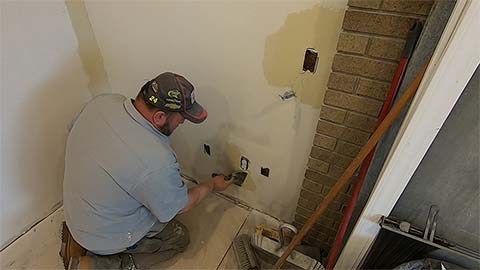
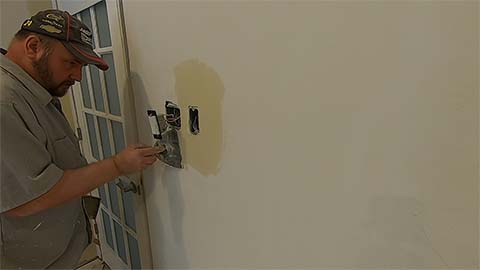
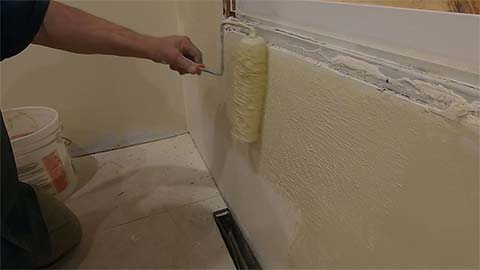
Creating A Home Gym, Drywall Repair, Floating The Walls

The Next Step, Floating The Walls

With the first coat of mud on all the patches completed, I’m now moving onto the next phase of the project – floating the walls. But there’s a challenge: the walls have a somewhat thick texture, which can make it tricky to achieve a smooth finish. So, I’m going to try a new method for applying the mud. I started by testing it out in a small area, using a roller to apply the mud. The initial results were promising – the mud went on smoothly and easily. However, as I used a taping knife to smooth out the taping compound, I noticed that it wasn’t filling the textured areas as much as I had hoped.

As you can see from the picture below, using the roller and taping knife method isn’t enough to fully fill the voids in the textured walls. This is because I had to thin the mud significantly in order to apply it with a roller, which resulted in less coverage. While I could continue with this method, it would require three coats to achieve the level of smoothness I’m aiming for. Instead, I’ve decided to apply the first coat with the taping knife. This method is more time-consuming and energy-intensive, but it will give me the coverage I need to finish with two coats.

Look at the next picture, you can see how much more of the texture is filled. So I will continue and apply the first coat to the walls in the entire room with a taping knife.

My grandson decided to give me a hand!

After the first coat dried, I lightly sanded everything down. I’m not trying to sand and make everything look smooth at this point. I just want to knock down any high spots as shown in the picture below.

 Before applying the next coat, the next step is to tape all the inside corners, starting with the ones at the ceiling. I knew it would be challenging, and it was. In my experience, and because I know how, installing crown molding is much easier and quicker than making inside corners look brand new. Plus, crown molding is a fantastic room upgrade that can add some personality and style.

So I was able to skip the inside corners from wall to ceiling, but I can not skip the inside corners from wall to wall. I start by taping one side first. Then letting that dry.

When that is dry, I sand it down with a corner sanding sponge

I like using this type of sanding sponge because it sands both sides of the corner. The next step is to  apply the next coat on the other side of the inside corner.

I will do this step on all the inside corners before I start the last coat of taping compound with a roller.

Before I start applying the last coat with the roller, I apply another coat around some of the patches I made around the outlets and switches. These patches will almost always need three coats of taping compound and since I am only applying two coats for floating the walls, I will give the patches the second coat now. 

I’m ready to start rolling the last coat of taping compound on the wall. If you’re looking to recoat your entire wall, whether it has a textured finish or multiple defects, using the roller method can significantly speed up the process. This method ensures an even application of compound across the wall, making it perfect for beginners. However, applying with the taping knife requires more skill and elbow grease to achieve a smooth finish. So, if you’re looking for a quick and easy way to coat your wall, go for the roller method. I created a YouTube #shorts video showing how I did this and some were asking why would you texture your wall then smooth it? It’s a waste of time. I’m only using the roller to make it easier to apply the mud to the wall. not for any other reason.

Once I have applied an even layer using the roller, I begin smoothing with the taping knife. I work in small areas, ensuring the compound doesn’t dry out before I can smooth it. This is my first time using this method, and I must say, I highly recommend it!

Although it may seem like sanding is a time-consuming task, it’s actually not as bad as you might think. The key is to feather everything out smoothly. When you’re working on a project that requires multiple steps like this, it’s important to remember that you don’t need to sand down to the wall again. Instead, sand until you no longer see any taping lines or defects. If you come across an area that requires a lot of sanding, it’s best to apply another thin coat instead of wearing yourself out sanding. In my experience, applying an additional coat is much easier than sanding until your arms give out!

Don’t forget to check back for my next post, where I’ll be sharing my experience with installing stone on the fire place. You won’t want to miss it!

If you would like to make a donation, click on the button above. This will help support my website and YouTube Cannel.

Contact Me

If you have any questions about any of my posts or want to share anything, you can contact me here!

Facebook
Twitter
LinkedIn
Pinterest
Email
Joe Witkowski

Joe Witkowski

Hello there, I'm a professional carpenter based in Northwest Indiana and I've been in the field for over 40 years now. Over the course of my career, I've gained a wealth of knowledge and expertise in carpentry that has helped me develop numerous tips and tricks. I've created this website and my YouTube channel to share those valuable insights with you, so that you too can have an easier time with your own DIY projects. If you ever have any questions or suggestions, please don't hesitate to send me an email!

There are affiliate links on my website and posts. When purchasing through my links I earn a small commission. This will not increase the price you pay. 

css.php